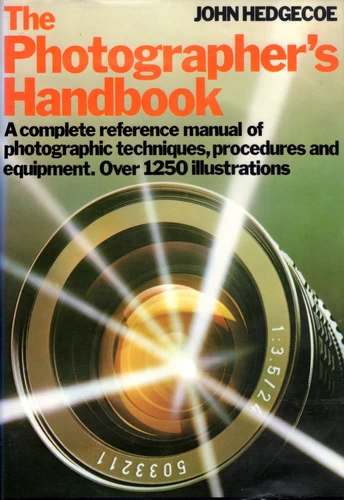
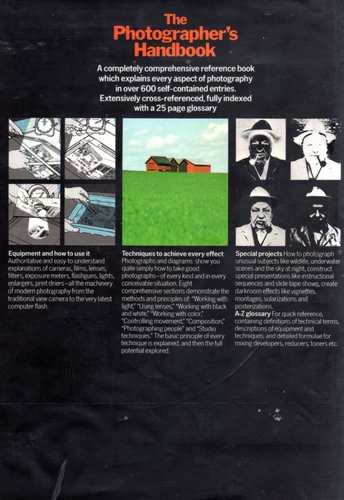
The book that kick started my interest in photography and processing my own films to prints.
| Publisher: | Dorling Kindersley, London. Printed by Thomas Nelson, West Melbourne, Vic. 1977 |
| ISBN: | 0170052265 |
| Characteristics: | 352 pages, ; 24 cm. |
| Source: |
This excellent book goes through in enough detail everything related to photography. Digital photography wasn’t around when it was published in 1977 but as for the Digital Photographer’s Handbook, the techniques relating to taking photos remain the same.
Much of the text and illustrations and photos relate to processing film. There are many techniques that cannot be done with modern digital processing so it’s not surprising that some photographers still spend time in the darkroom practising their craft.
Black and White Processing
I had done a holiday program at Pakenham High School around 1975 and my interest was piqued. It wasn’t until in Year 9 that I started the hobby when I got for Christmas everything needed to process black and white films.
Unfortunately I didn’t have the foresight to photograph the process itself, which was set up in the home laundry with a whole cupboard full of developer and fixer chemicals kept in beer bottles and everything else needed.
The Tank
The first step was to load the film into the Patterson processing tank. First I did this in complete darkness, but it’s not easy. Items need to be close by so they can be found through touch.
A light proof changing bag was the solution and it’s the only item from my processing days that I have kept; thinking that it may be useful for working with film camera break downs. It has probably ever been used only once or twice for this.
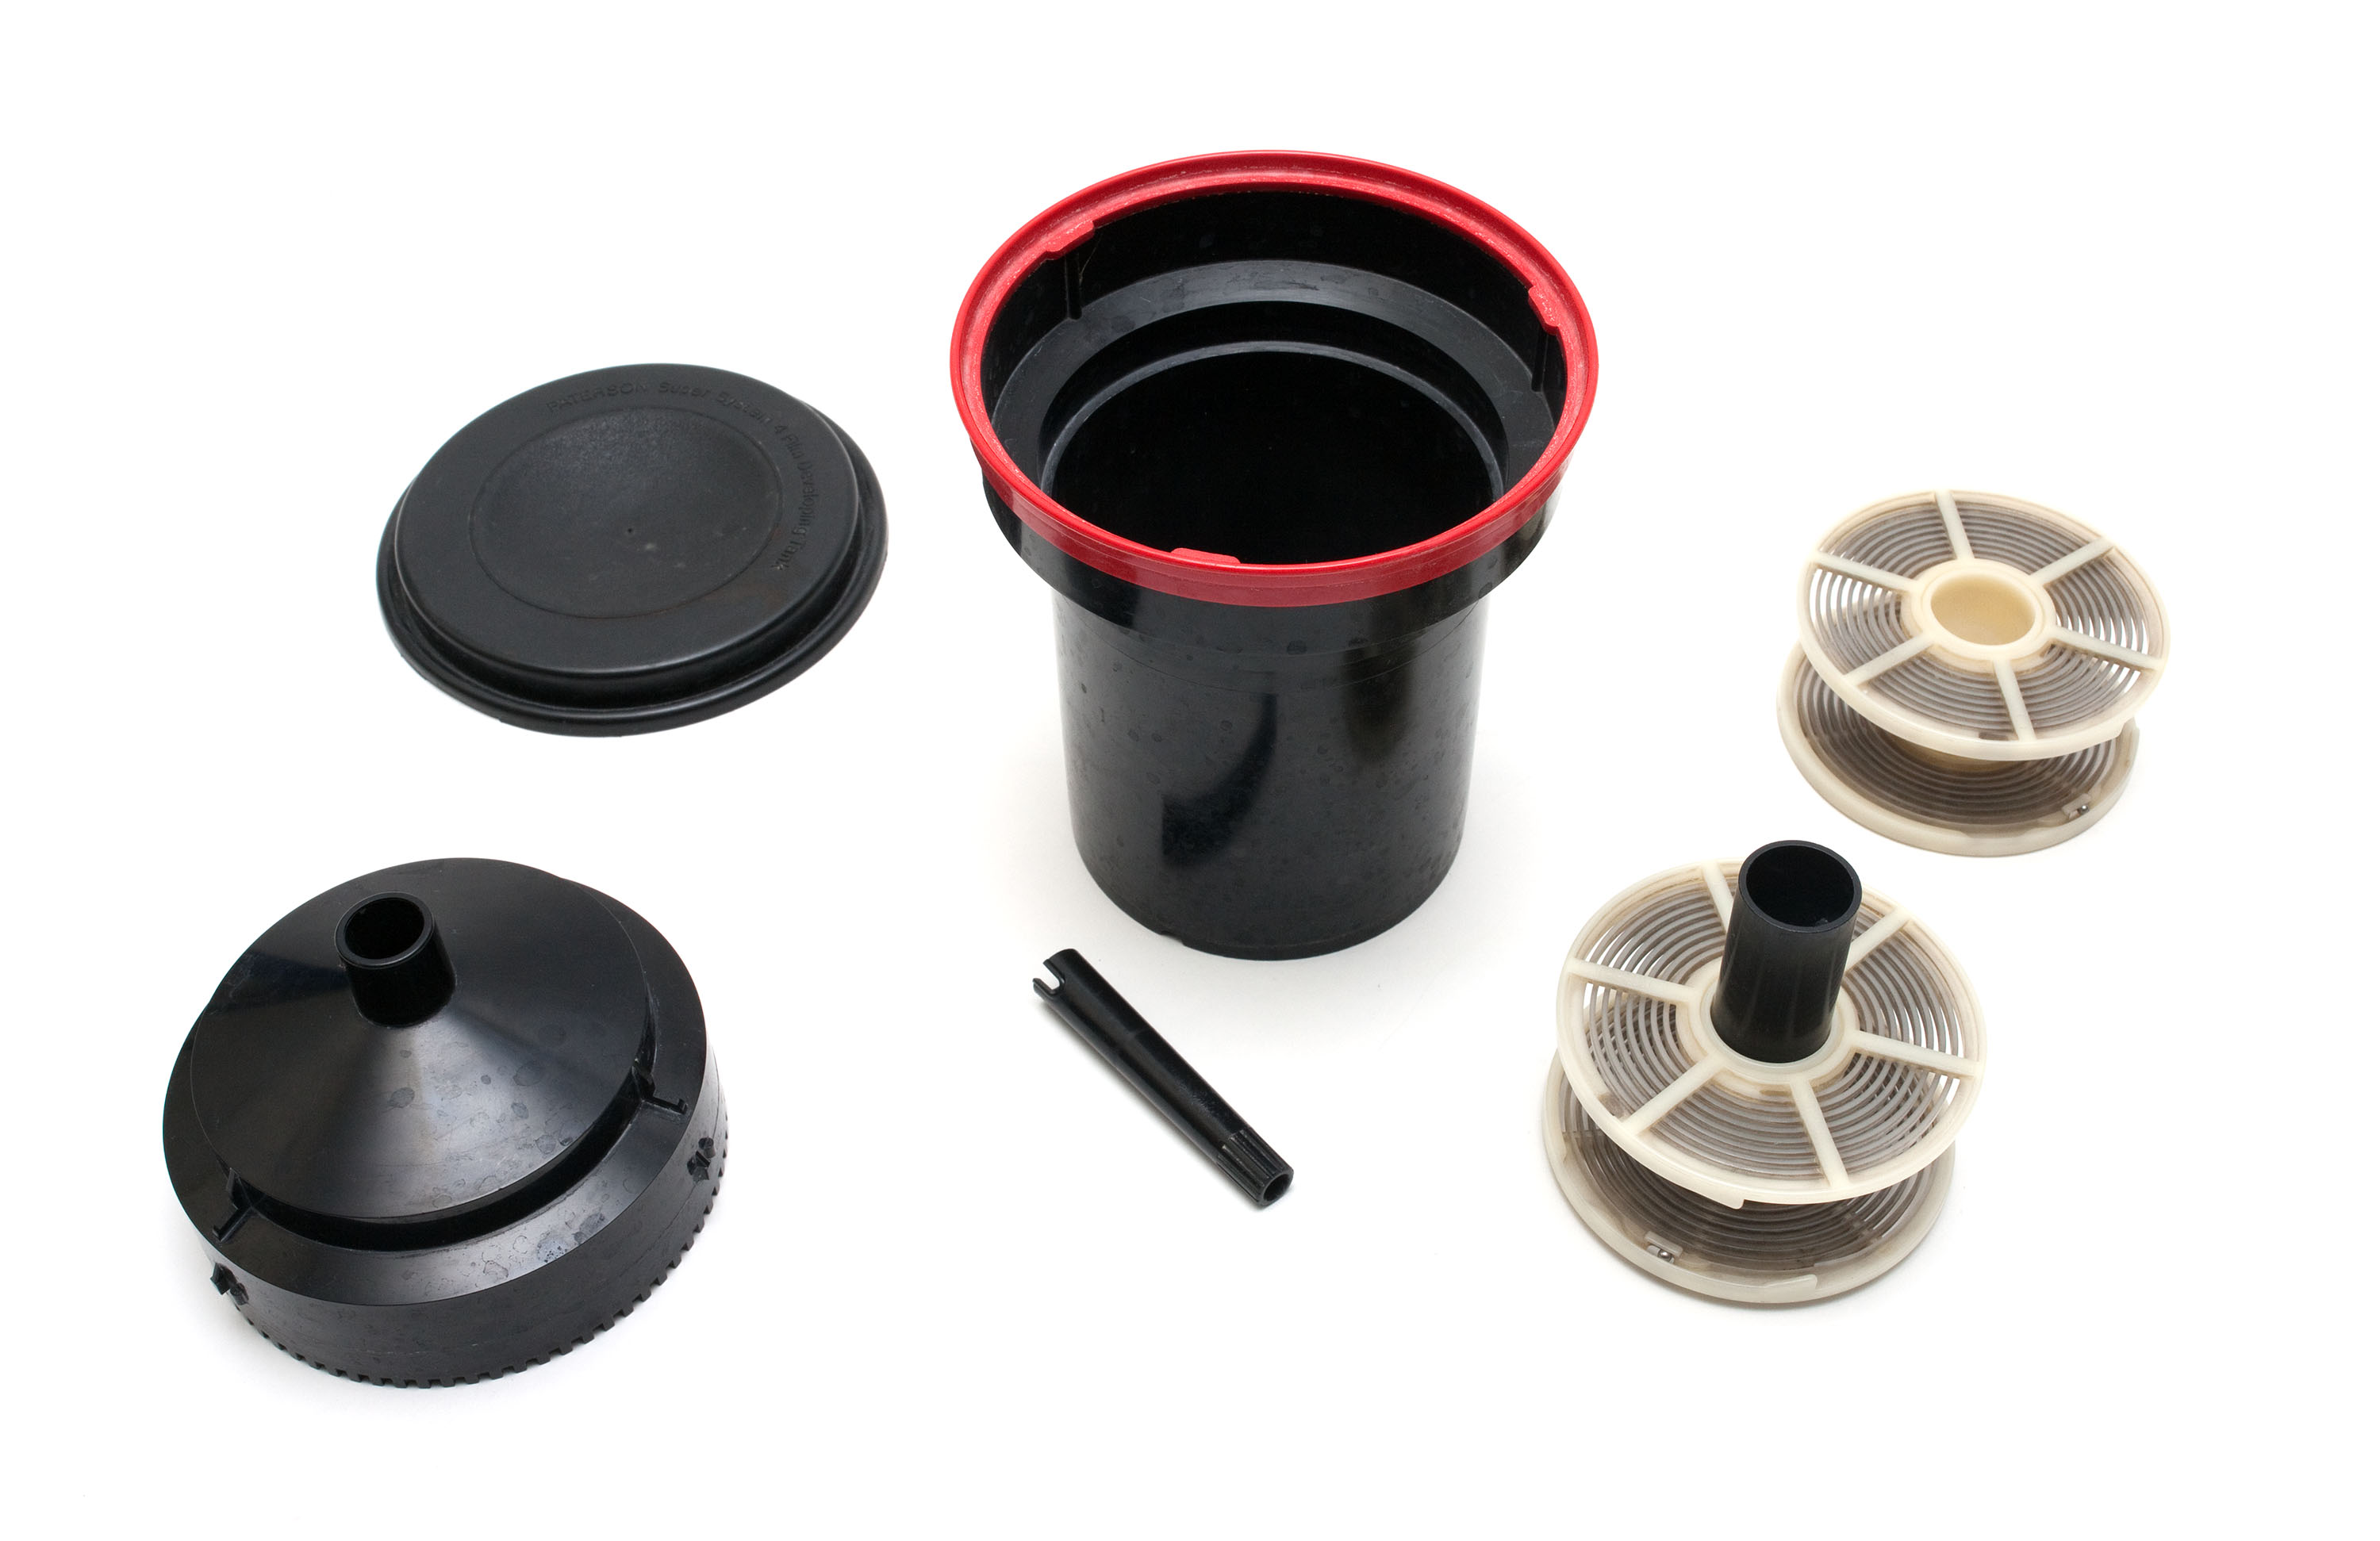
Working with the chemicals needed was interesting. I bought them in powder form from Ilford and which was much cheaper than in the liquid form. The concentrations had to be correct and in the tank for the correct time for the film to be process correctly.
Making Prints
Once the film was processed, free of chemicals and dry, making prints was next. This was probably the best and most fun part of the process. There are many creative techniques that can be used in this step.
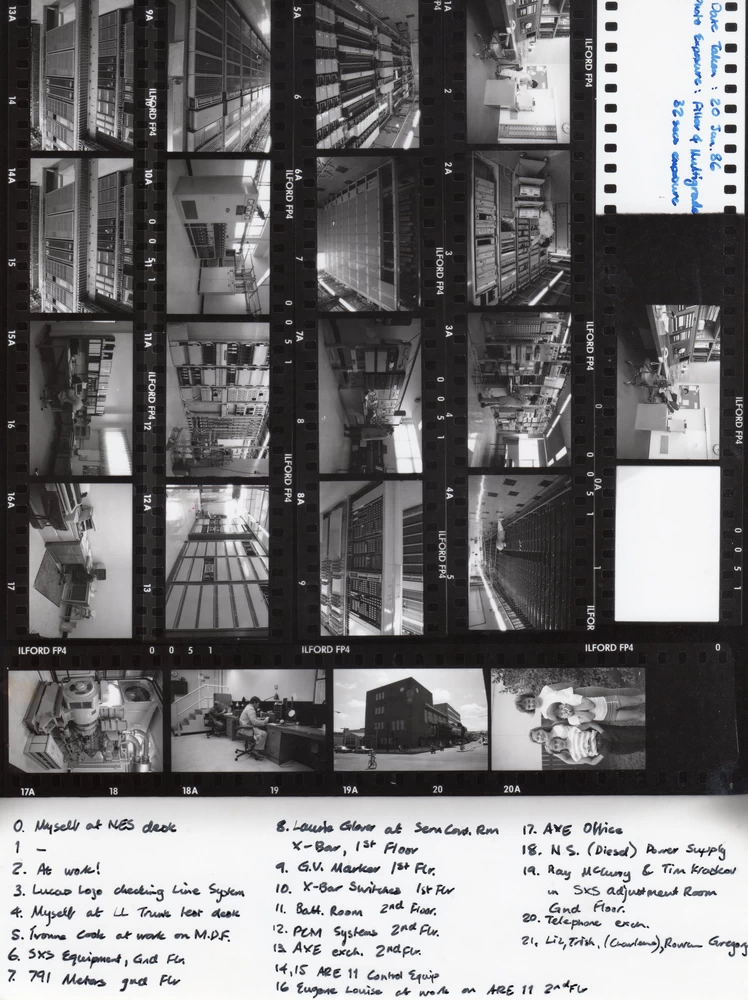
The Contact Print
A good to start to printing a film is to make a contact print, giving a much clearer view of what exposures are available. Much easier than trying to view negative images.
One choice to be made was what grade of photographic paper to use, as this affects the contrast. Rather than buy many grades, (plus sizes and finishes; which makes for many combinations) I used Ilford’s Multigrade system where the grade is changed simply by inserting a coloured filter in a tray above the negative inside the enlarger.
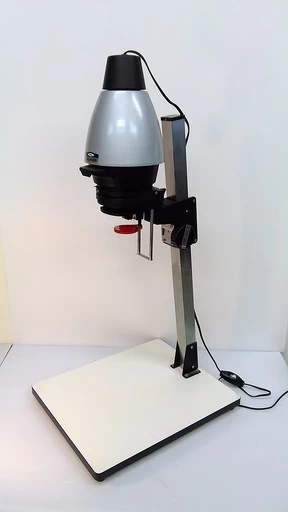
An LPL enlarger. It was inexpensive and reliable, and very easy to use.
The head could be removed and used as a copying stand for a camera. I had negative holders for both 35mm and 120 size film.
I loved watching the prints develop in the developer tray under the safe red light. Then, like processing the film it was rinse, fixer, rinse and dry. Job done!
Conclusion
An excellent read, although much of the book is now a nostalgic look at how photography used to be done for most photographers.
